Teach, learn, share
  • Other resources
    • How to draft a bodice sloper
    • Other blogs and resources
  • Galleries of photos
    • Charity Crafts Gallery -Page 1
    • Charity Crafts Gallery - Page 2
    • Charity Crafts Gallery - Page 3
    • Charity Crafts Gallery - Page 4
    • Charity Crafts Gallery - Page 5
    • Pants made from my own pattern

A few more things for my Pine Ridge family

6/10/2015

0 Comments

 
I made myself NOT start anything new till I had completely finished several of the Summer outfits I had started.  I intend to send those to my "adopted" family in Pine Ridge.  The family has four children, three boys and one girl, all age 5 and under. 

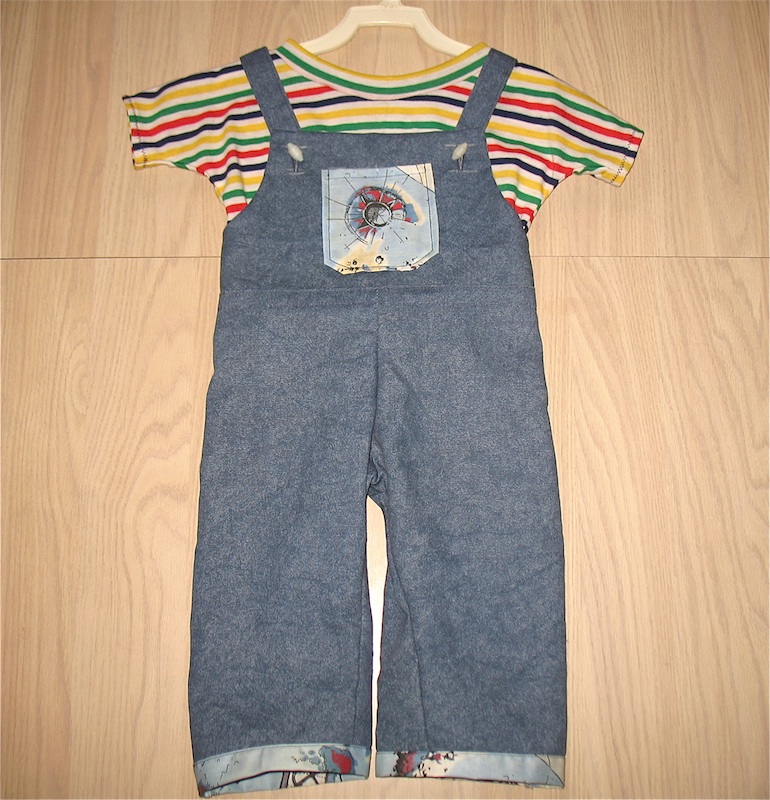
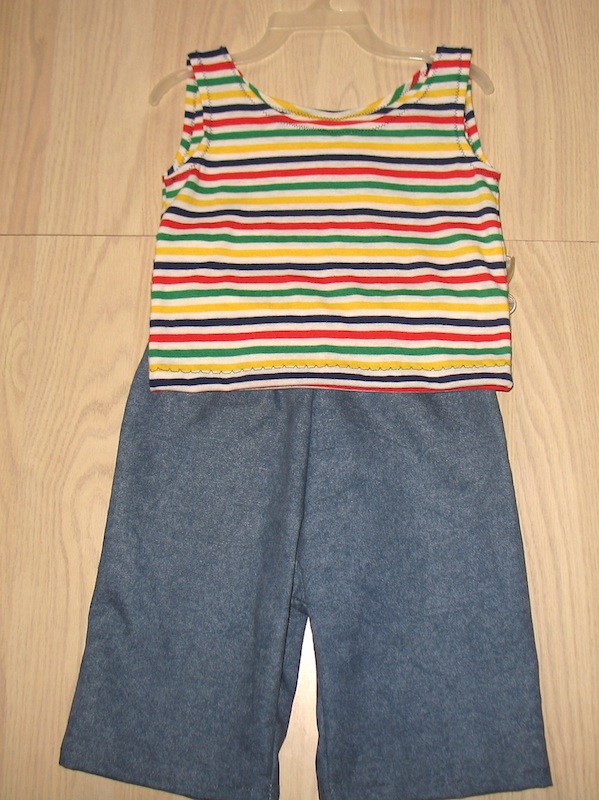
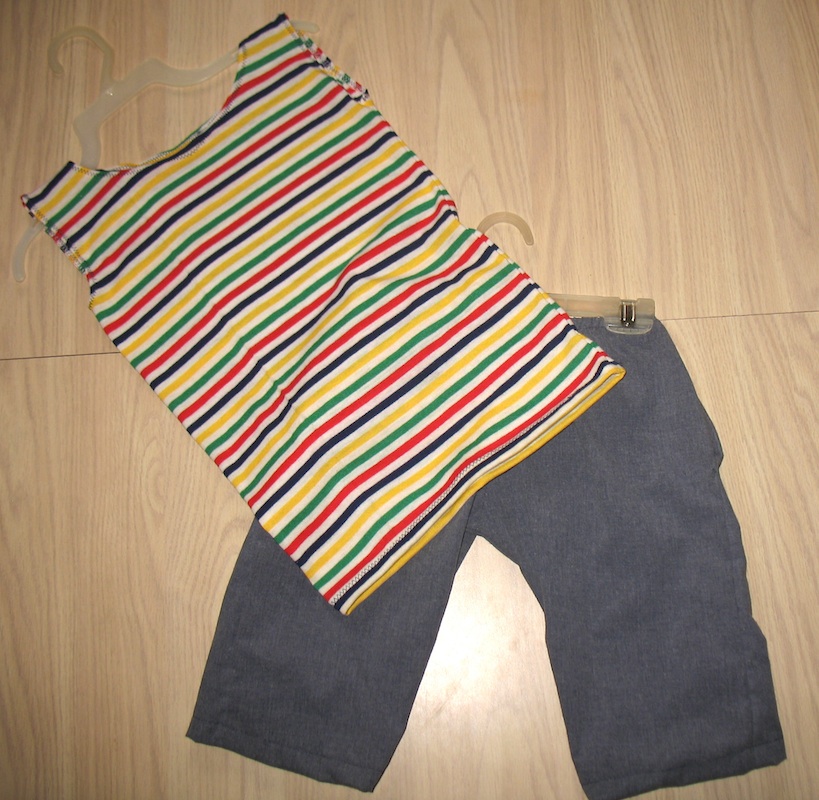
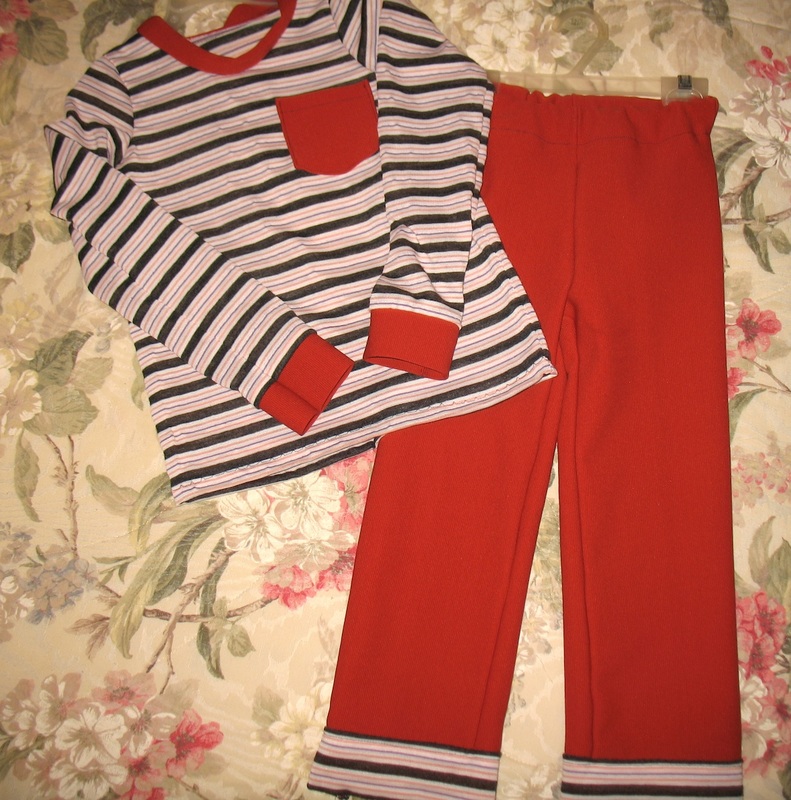
Armed with several size charts, I did my best to hopefully make clothes that will fit them and maybe have room to grow.  The striped fabric is a knit that was quite uneven and was difficult to make and align the stripes.

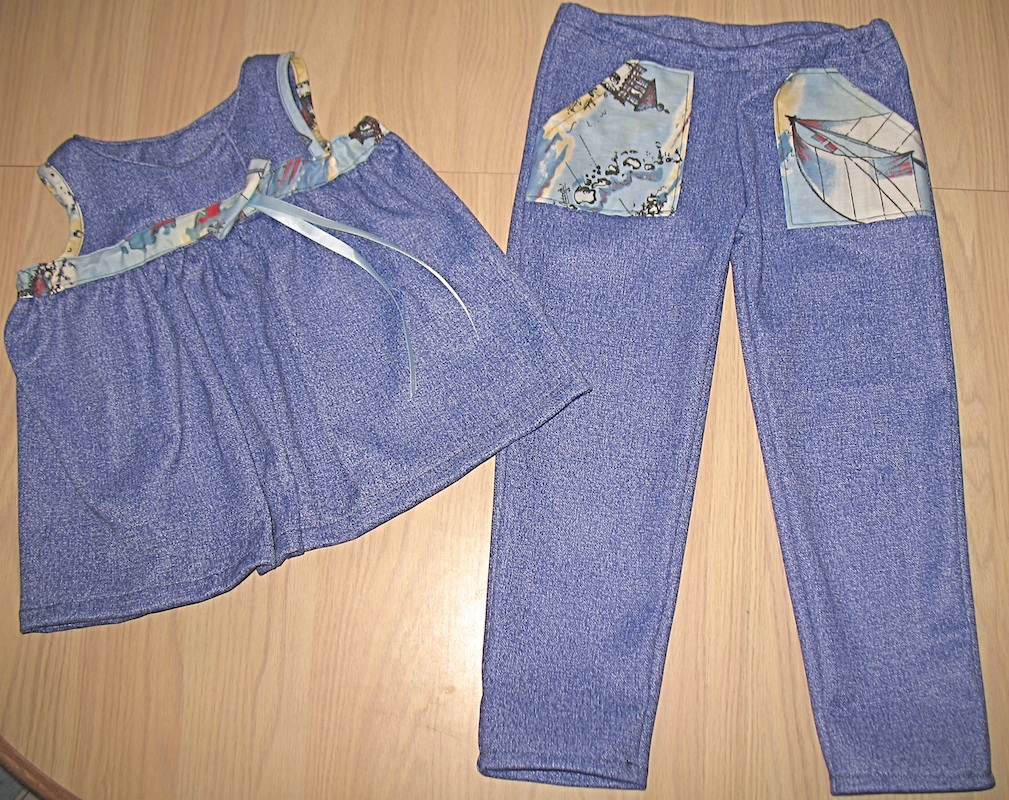
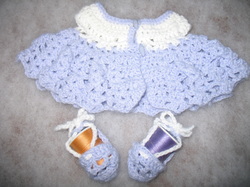
The little girl's outfit is made of a knit fabric that looks like denim but is more comfortable because it stretches.  I really liked this fabric: it keeps its shape and looks like it won't show dirt too easily.

Here are the photos!


Picture
Picture
Picture
Picture
0 Comments

Focus: Pine Ridge Reservation

6/7/2015

0 Comments

 
For the past month or so, I have been focusing my charity crafting on the poorest of the great nation that we call the United States of America. 

Can you even imagine an 80% unemployment rate?  Living well below the poverty level, are a whole lot of elderly people and children.  Plagued by low morale and illnesses, very cold weather (they had 12" of snow in late May!), and with no hope for improvements, those people need help.

One of the projects to assist them is the Okini program.  A heartbreaking list of DIRE needs is available online and you can choose to send them food, diapers, clothing, and money.  You can sponsor a family on a regular basis, or just participate when you are able to spare a little something.  When you look at the list, you will notice that they are asking for very basic items.  This is a world where life is so different.  There, going to the store for groceries is an agonizing moment where every penny is counted, obtaining a barely used pair of pants or a blanket without holes is a special treat, and having some propane to warm their poorly insulated home when it's -20F is a blessing.  If you read their stories, be sure to have a box of tissues near you.

If you are moved to help, the list can be found here.  It is updated frequently so you can see at a glance what is needed.

While I have sent some diapers, wipes, and a few other things, I have also started a box of nutritious non-perishable foods.  By buying a few additional groceries every week, it is easy to quickly fill a box.  I have also been knitting and sewing to fill a box of clothes for this Summer.  Here's one of my latest outfits.  It is done in knit fabrics so it should be comfy.  I have found some wonderful stretch fabrics that can be for a boy or a girl.  My "adopted" family has 4 children under the age of five, and I hope that they will like those.  I will have more photos later on.


Picture
0 Comments

Spring is in the air!

3/20/2013

2 Comments

 
And with Spring, I am seeing more about cotton yarn than wool. That is a good thing for me because wool is just not my thing. I love seeing the beautiful things other people make with wool, but I really have no use for it in South Florida. Even the little socks I made (see previous post) in thin acrylic yarn are getting too warm. I'll save them for my upcoming trip to the mountains of Panama where the nights are much cooler.

I am still fascinated with socks. I guess they're my new fad. Then I got to thinking: how about socks made of cotton thread? Something really thin, on tiny needles. Have you made cotton socks? Let me know in the comments how they worked out. Were they comfortable, did they stretch enough, did they last a long time?

I see some very nice patterns online, such as:

Crystal Palace Panda Cotton

And, of course, Ravelry has a lot of choices of lovely patterns
2 Comments

Crochet sandals

3/27/2011

3 Comments

 
I was not able to find any good crochet patterns for the kind of sandals I wanted to make.  After lots of research on the net, I decided to make my own. I even remembered to write down what I did (for once). This is my first time attempting to write a pattern for others to use, and it is untested. Please let me know if you have questions. This pattern has very few ends to finish, and works up in a jiffy.

These will fit a newborn. They worked up to a length of 3.25" or 8 cm.  I've always found that the standard 3.5" or 9 cm are really too big for newborns, so I made those a touch smaller. You can use a larger hook and thicker yarn for larger feet.
This is written in American crochet.
Hook: Size G - 4.0mm
Yarn: Small amount of lavender and small amount of white, rated for hook size G.
Gauge: Not critical as the ties allow for some adjustments.


Stitches used:
Chain stitch.
Slip stich.
Single crochet (sc).
Double crochet (dc).
Shell stitch (2 double crochets, 1 chain, 2 double crochets in same stitch)
Picture


Sorry about the bad picture.


Sole:

Chain 12.
Row 1 -
Double crochet in 3rd stitch and in next 7 stitches, for a total of 8 dcs.
6 dcs in last stitch.
7 dcs on other side of the chain.
3 dcs in last stitch.
Join with a slip stitch.

Row 2 -
Chain 2. Do not turn.
2 dcs in next stitch.
1 dc in next 9 stitches.
*2 dcs in next stitch*  Repeat from * three times..
1 dc in next 9 stitches.
3 dcs in next stitch.
2 dcs in next stitch.
Join with a slip stitch.
Sole is about 3.25" or 8cm long.

Do not fasten off.

Picture
Heel detail.


Back heel:

Chain 5.

Join in 4th stitch across the width of the sole with a slip stitch.
Chain 1.
Make one shell stitch in the center of chain 5.
sc in last stitch of chain 5.
Heel completed.

Do not fasten off.

Slip stitch in next 6 stitches along the edge of the sole.

Picture
Front top (toes part):


Chain 12.

Row 1 -
Anchor across sole with slip stitch. You should anchor 6 stitches from the heel.
Chain 2.
1 dc in each chain 12 stitches.
Anchor to sole with a slip stitch.
Chain 2. 
Turn.

Row 2 -
*dc in next stitch, chain 1, dc in next stitch* three times.
Chain 2.
dc in last stitch.
Chain 3, turn.
dc in center.
Chain 3.
sc in last stitch.
Finish, leaving a tail for sewing.
Sew toe part to sole.

Picture
Either thread a ribbon or make a chain for laces.

Finish ends.

Make a second sandal.

You can embellish or leave as is.

Additional photos below.
Picture
Picture
Picture
Pair it with a little matching dress.
Picture
3 Comments

    Agnes teaches

    A blog to teach, learn, and share. Brought to from South Florida.

    Categories

    All
    Baby
    Bebe
    Charity
    Children
    Comment Faire
    Contest
    Cooper Hospital
    Couture
    Crochet
    Drafting
    Easter
    Ecards
    Francais
    Free
    Fun Stuff
    Giveaway
    Haiti
    How To
    How-to
    Inspiration
    Instructions
    Knitting
    Newborn
    Nourisson
    Nouveau Ne
    Nouveau-ne
    Patron
    Pattern
    Pine Ridge
    Printemps
    Sandal
    Sandale
    Scrunchies
    Sewing
    Shoe
    Spring
    Summer
    Techniques
    Tracer
    Tutorial
    Tutoriel

    RSS Feed

    Blogs I like

    Click to see a list.
    Crochet Blogs
    Powered By Ringsurf
Powered by Create your own unique website with customizable templates.