Photo 1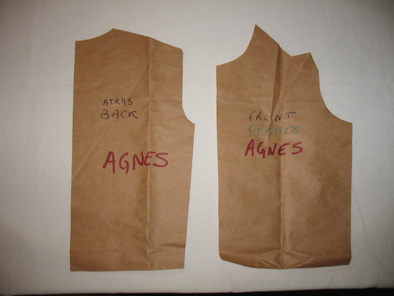
This is my bodice sloper. I made it a while back, as you can see it's been used often.
Just to give you an idea of what you will be making. |
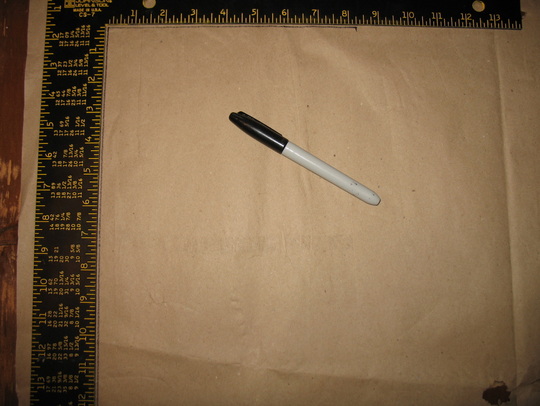
Photo 2
Gathering the tools you'll need. You do not need ALL of those, this is just to show you some possibilities.
Please refer to my blog post for what you really need. Since I use both metric and imperial measures, I tend to have more measuring tools than is really needed. |
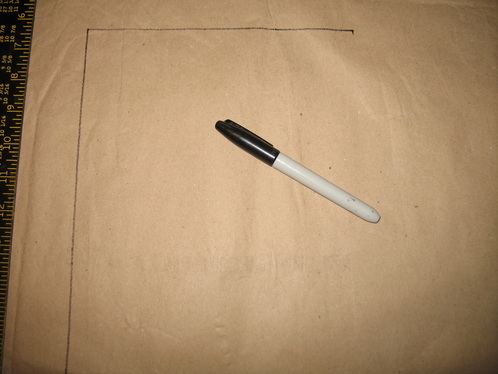
Photo 3
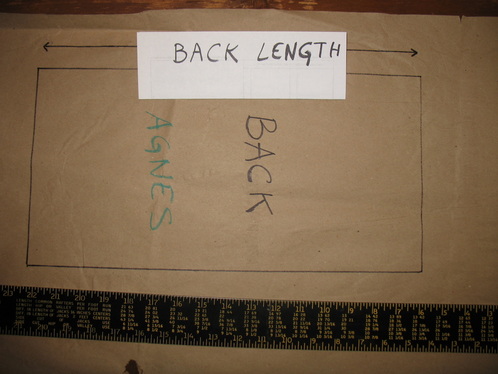
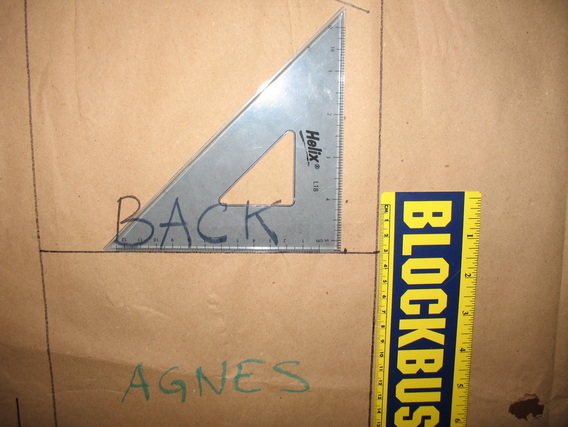
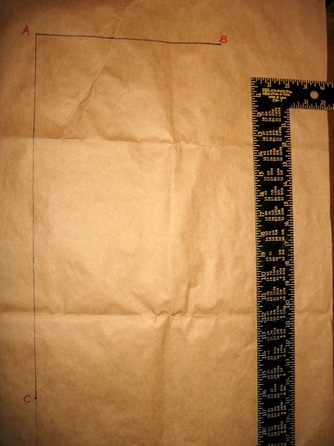
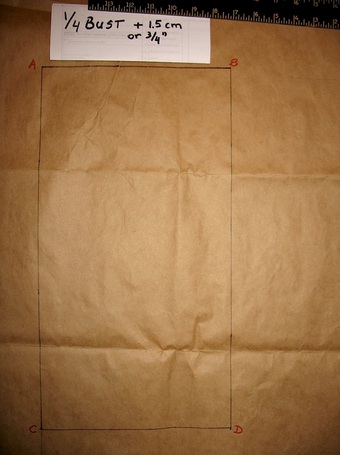
It all start with tracing a rectangle.
I will be using a felt marker only so that the lines show better on the photos. Be sure to use a pencil so that you can erase to correct mistakes and, later, adjust to your body uniqueness.
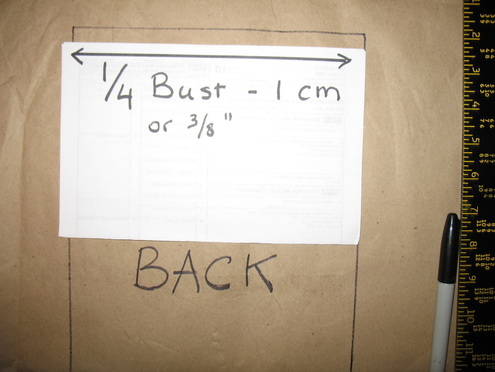
Take 1/4 of your bust circumference.
Subtract 1 centimeter or 3/8" and trace the horizontal line.
Note: If you are large chested, you will need to subtract a little more, maybe 2 cm or 3/4". This is where customization begins.
If you tend to curve your back, you may not need to subtract anything.
So, how do you know? By measuring some more and seeing the difference between your front bust and back cross measurement (taken at the same level as the bust line).
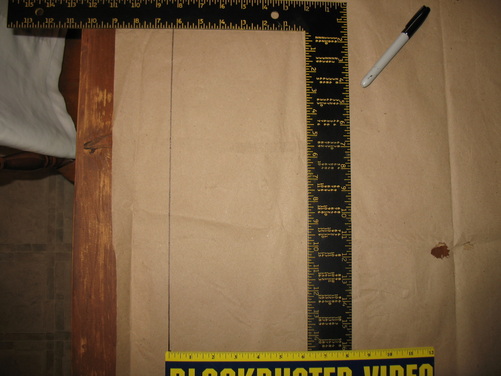
Take your back length measurement and trace the vertical line.
Photo 4
Photo 5
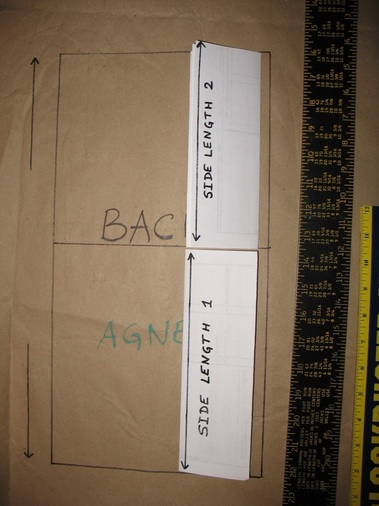
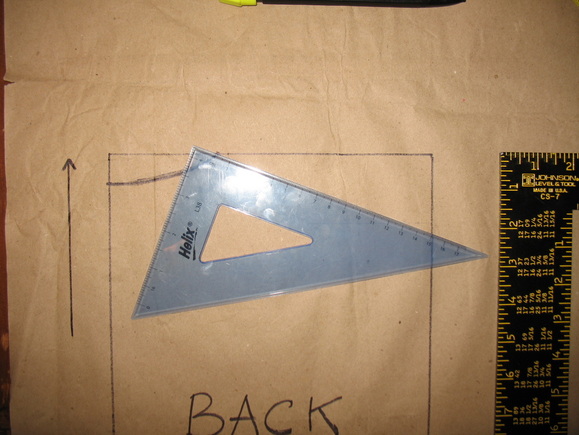
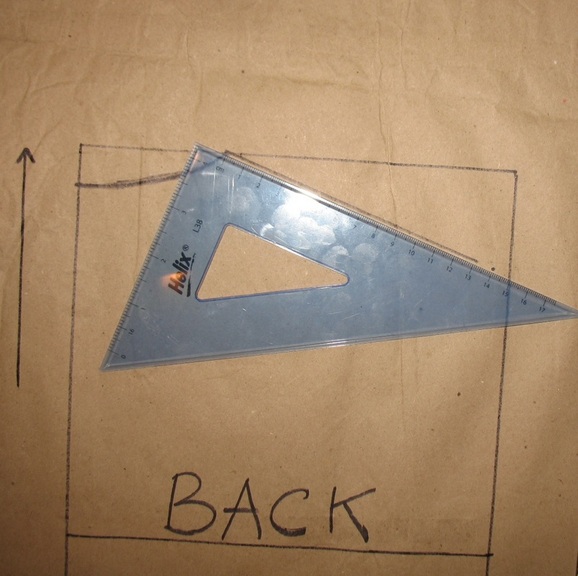
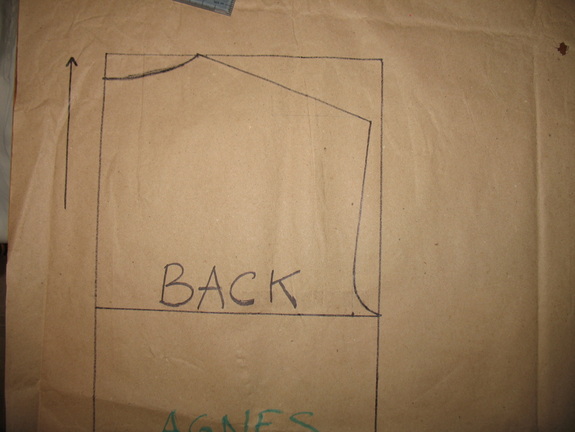
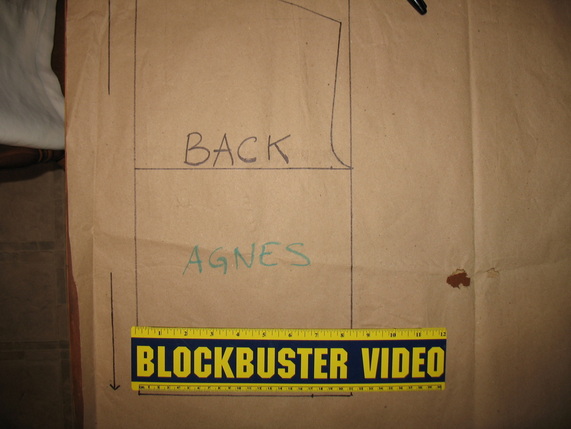
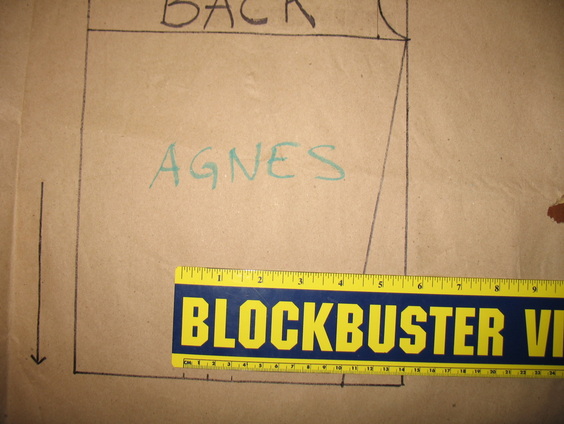
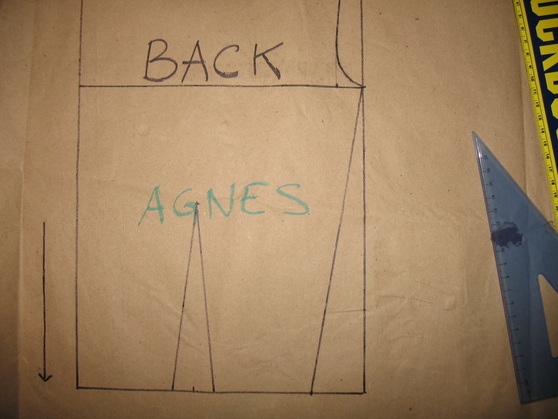
The two photos (6 and 7) below show a recap with labels on white paper to make it more visible.
I have also named by pattern "BACK" and with my name. If you sew for others, it's a good idea to name them. I label my pieces so that, when folded and in a sleeve protector, the names are visible. If you sew for children, I would add the date since thy grow up so fast.
I have also named by pattern "BACK" and with my name. If you sew for others, it's a good idea to name them. I label my pieces so that, when folded and in a sleeve protector, the names are visible. If you sew for children, I would add the date since thy grow up so fast.
Photo 6
Photo 7
Photo 8
In photo 8, we will mark our rectangle with the side length 1 and 2.
Side length 1: From your waist to below your arm.
Side length 2: From below the arm to the base of your neck.
Trace a horizontal line.
Side length 1: From your waist to below your arm.
Side length 2: From below the arm to the base of your neck.
Trace a horizontal line.
Photo 9
[I apologize in advance for the glare.]
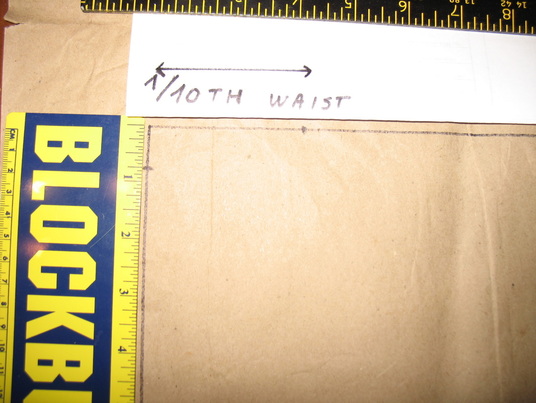
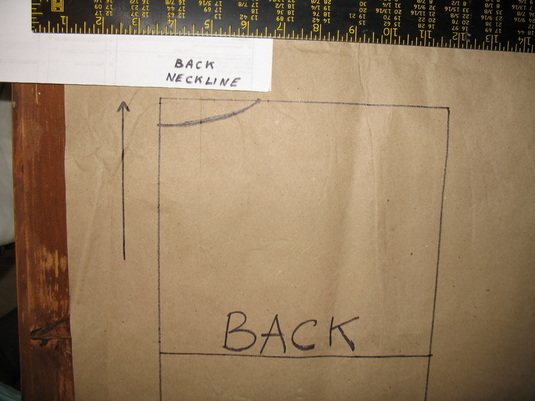
We'll now work on the neck line.
In the upper left corner, divide your waist measurement by 10 and mark a dot on the top horizontal line.
On the vertical line, mark 3/4" or 2 cm.
Note: Not all necks are the same. The above are average, and you may need to adjust if you have a thinner or thicker neck.
Photo 10
Draw a curve joining those two marks.
Photo 11
Time to create our shoulder line!
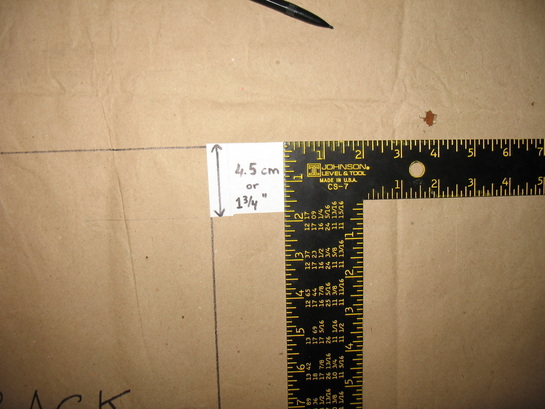
On the upper right corner, mark a dot at 4.5cm or 1 and 3/4" on the vertical line.
Again, droopy shoulders might need more of a drop whereas squarer shoulders will need less.
On the upper right corner, mark a dot at 4.5cm or 1 and 3/4" on the vertical line.
Again, droopy shoulders might need more of a drop whereas squarer shoulders will need less.
Photo 12
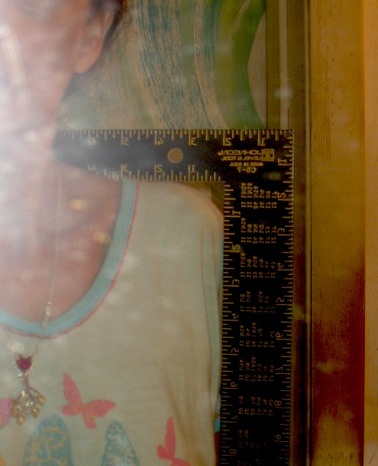
This is a tricky one to measure by yourself. This is how I did it, but there might be easier ways:
I take my big L ruler and stand in front of the mirror. You'd see better if only wearing a bra, of a tight fitting tank top.
Hold it as level as possible, resting at the base of your neck. Make sure you're not raising your shoulder when holding up the L ruler. With your other hand, place a small ruler on your shoulder. Where the ruler meets the L square is your drop.
Now, with your third hand... just kidding, that's it, you've got that tricky measurement!
And if you think that's tricky, try holding a camera and trying to take a photo at the same time! I think I blinded myself 6 times before giving up LOL!
The good news is that if squared shoulder garments make a come back, you won't have to do this :).
Place a ruler connecting the neck curve to the should drop point you just marked.
Extend the line by 1 cm or 5/8" as shown here.
Now, we will draw the arm scythe (that's where the sleeve, if any, will be sewn).
Measure 3 cm or 1 and 1/4" up, and 2 cm or 3/4" towards the left. These may need slight adjustments to fit you, especially the one going to the left.
Note: How to check if adjustments are needed. A tiny bit of math, don't worry, nothing difficult.Take you quarter bust measurement as adjusted at the beginning, and subtract your quarter back width measurement. The difference will be how much to the left you need to go.
If you have a set of French curve, you can use it to draw the curve here, or just draw it free hand. Then connect with your extended shoulder point.
From the bottom left corner, mark 1/4 of your waist measurement + 3 cm or 1 and 1/4". The added 3 cm or 1 1/4" will be used to make a dart below.
Draw a line from that mark to the arm scythe.
Draw a line from that mark to the arm scythe.
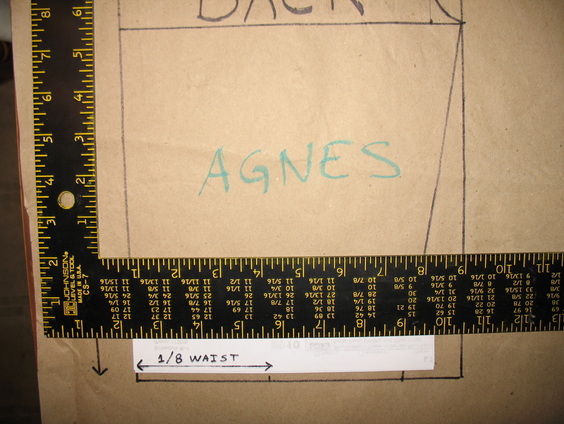
Mark 1/8" of your waist measurement.This will be to position the center of the dart.
Mark 1.5 cm or 3/4" on each side of the center dart mark.
Exactly above the center point of the dart, at about 15 cm or 6 and 1/4" mark a dot.
Draw straight lines from the upper point to each side points.
Note: 15 cm or 6 1/4" is for the average figure. Since we're making this for you, and nobody really is average, you will need to consider your height, especially your torso height. If you're petite like me, you'll probably make this only 13 cm or so but if you're tall, you'll want to make it higher. How much is difficult to say as we are all different. A rule of thumbs is approximately 3/4 of your Side Length 1.
You can now cut your pattern out.
Guess what? You have finished your basic back sloper! Sit down with a cup of tea and admire your work. See? That wasn't so hard!
Next week, we'll start on the front bodice sloper.
Front Bodice Sloper (basic pattern)
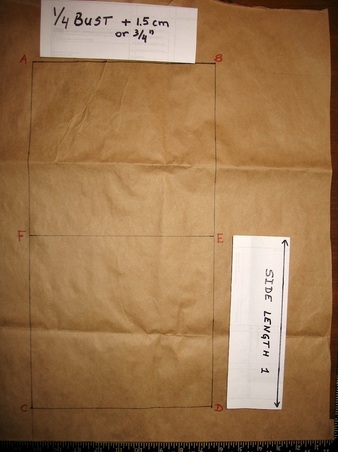
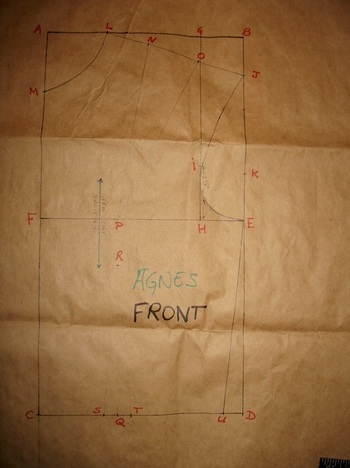
Once again, we start with a rectangle. This time, we will use:
1/4 bust plus 3/4" or 1.5 cm for the width.
Front length measurement for its height.
Note: From discussions on My Sewing Circle following the draft along for the back bodice, it occurred to me that labeling the points would be handy.
1/4 bust plus 3/4" or 1.5 cm for the width.
Front length measurement for its height.
Note: From discussions on My Sewing Circle following the draft along for the back bodice, it occurred to me that labeling the points would be handy.
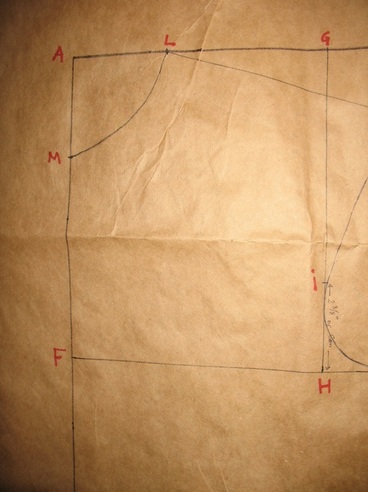
Make sure all angles are square. I marked the corners A B C and D.
Mark the length of your Side Length 1, going from D to E and C to F. Draw a horizontal line.
We will now work on the arm scythe.
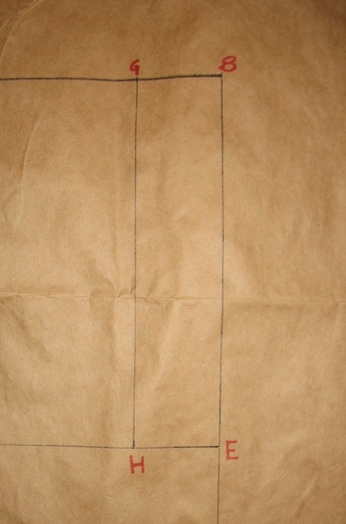
Points G and H are 5 cm or 2" from the edge. Once again, this is an average figure. You may have to adjust to your body.
Points G and H are 5 cm or 2" from the edge. Once again, this is an average figure. You may have to adjust to your body.
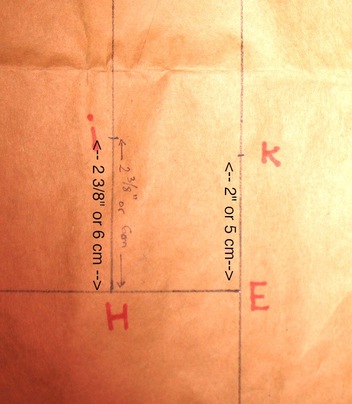
Point I is about 2 and 3/8" or 6 cm up from H. This is mainly help us draw the curve.
The next steps are for those who do not have curved rulers:
I am sorry, that photo has somehow disappeared.
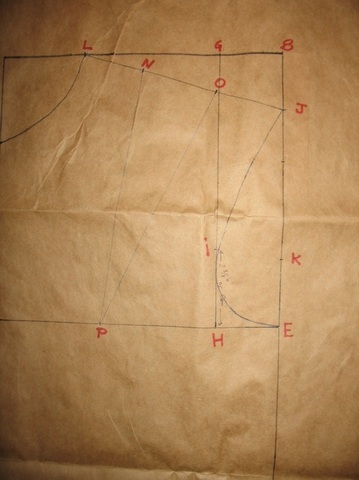
Point K is about 2" or 5 cm up from E. K is not a point hat will appear on your sloper, it is merely used to help us draw a nice curve. If you own a set of French curves rulers, you can skip that part.
Draw a light line from H to K. This will mark the 45 degree angle on the triangle formed by E, H, and I.
Mark a dot 2 cm or 3/4" from H on the line H - K.
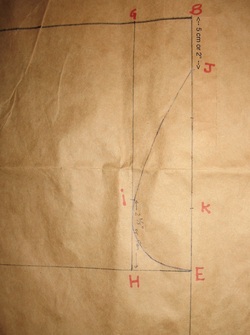
Mark 2" or 5 cm down from B and this will be point J.
You may have to adjust J to conform to your shoulders' slope.
Draw a curve as shown to make the arm scythe.
You may have to adjust J to conform to your shoulders' slope.
Draw a curve as shown to make the arm scythe.
Neckline:
Mark points L and M at 1/10th of your waist line.
Join L and M with a curved line.
Join L and J with a straight line.
Mark points L and M at 1/10th of your waist line.
Join L and M with a curved line.
Join L and J with a straight line.
For the shoulder dart, mark N 2" or 5 cm from L on the shoulder line.
O is 6 cm from N.
This dart is what allows for the depth of the bust. This dart is for average measurements. This is an important area of customization as we all have different bust sizes. Larger busts will require a wider space between N and O. Smaller busts, a smaller space.
Bust separation:
As if size differences were not enough, this is another area of fine tuning. The bust separation is the measurement between the points of your breasts.
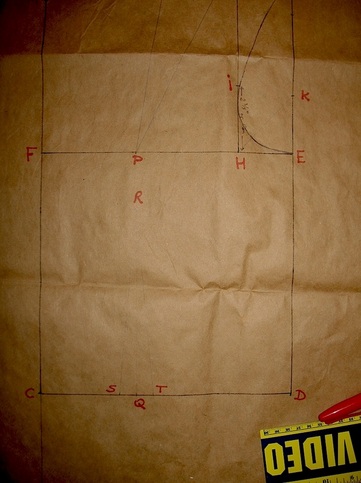
F to P is half the bust separation. This will give your shoulder dart the correct angle.Connect N, O, and P to make the shoulder dart.
Exactly below P, on the line C to D, mark point Q. We will make the waist line dart now.
S and T are 1.5 cm or 5/8" from Q.
R is standardly 15 cm or 6" up from the waist line. Short torsos will want to mark R at less than 6" (mine's at 5 and 1/4"), tall torsos will want it higher.
Draw a line from R to S and then from R to T to mark you waist dart.
S and T are 1.5 cm or 5/8" from Q.
R is standardly 15 cm or 6" up from the waist line. Short torsos will want to mark R at less than 6" (mine's at 5 and 1/4"), tall torsos will want it higher.
Draw a line from R to S and then from R to T to mark you waist dart.
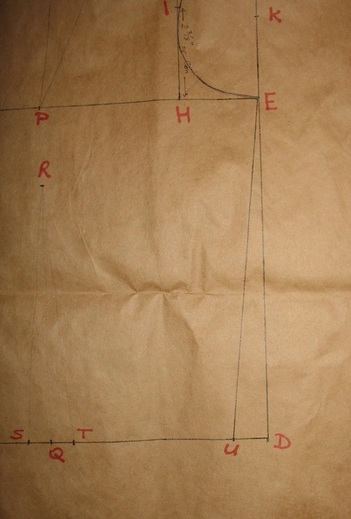
U is at 1/2 your waist plus 3 cm or 1 and 1/4" (the same amount the waist dart will take up).
Draw a line from E to U.
Draw a line from E to U.
Pat yourself on the back! You've made a front bodice sloper!
Label as you wish so it makes sense to you. You can also draw the grain line for future reference. I honestly usually don't mark it, since I know my grain line, and I personally feel that if I have too many things marked, it just confuses my eyes.
Someone said after making the back bodice that they were celebrating with a glass of wine. Why not? You've accomplished something! Cheers!
I'd like to add one comment. Drafting as shown above is a very simplified method. People spend years studying complex drafting techniques. Since I'm not aiming to compete with the haute couture designers, this simpler way works for me. I do not intend to imply that this quick drawing will replace elaborate methods.
