Teach, learn, share
  • Other resources
    • How to draft a bodice sloper
    • Other blogs and resources
  • Galleries of photos
    • Charity Crafts Gallery -Page 1
    • Charity Crafts Gallery - Page 2
    • Charity Crafts Gallery - Page 3
    • Charity Crafts Gallery - Page 4
    • Charity Crafts Gallery - Page 5
    • Pants made from my own pattern

So much need, so little time!

10/15/2015

2 Comments

 
If you're like me, you are sometimes overwhelmed by the needs of children and babies in the USA and other countries. I'm so busy sewing and knitting that I can't seem to find the time to post here.

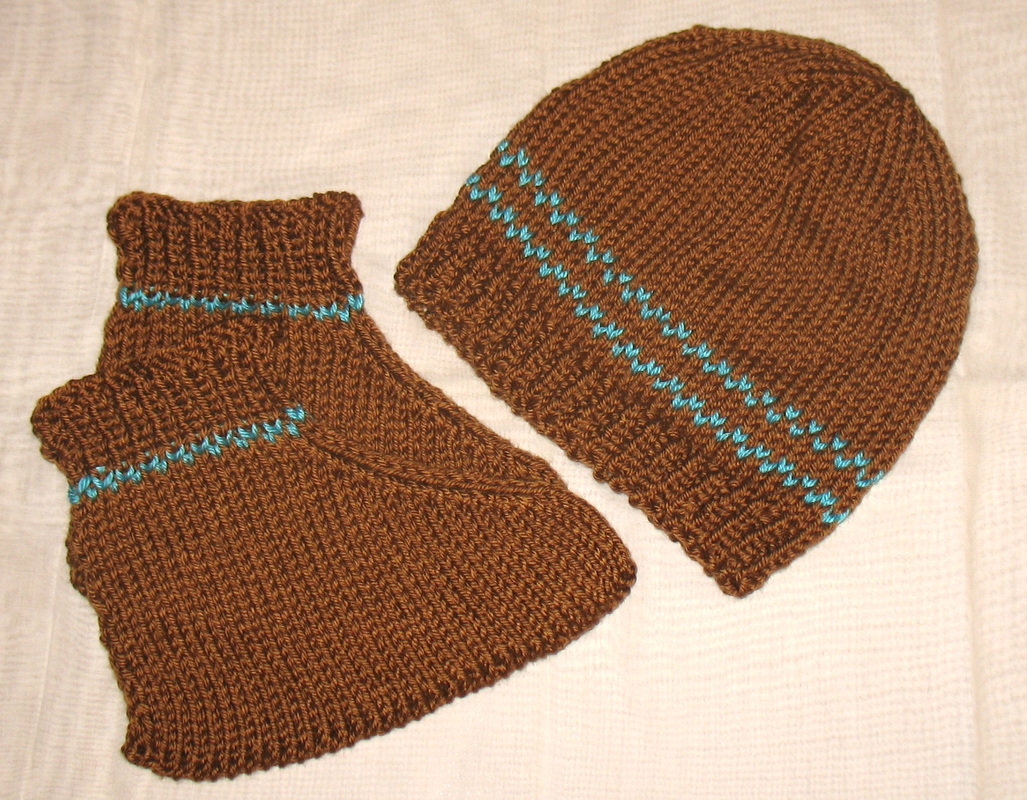
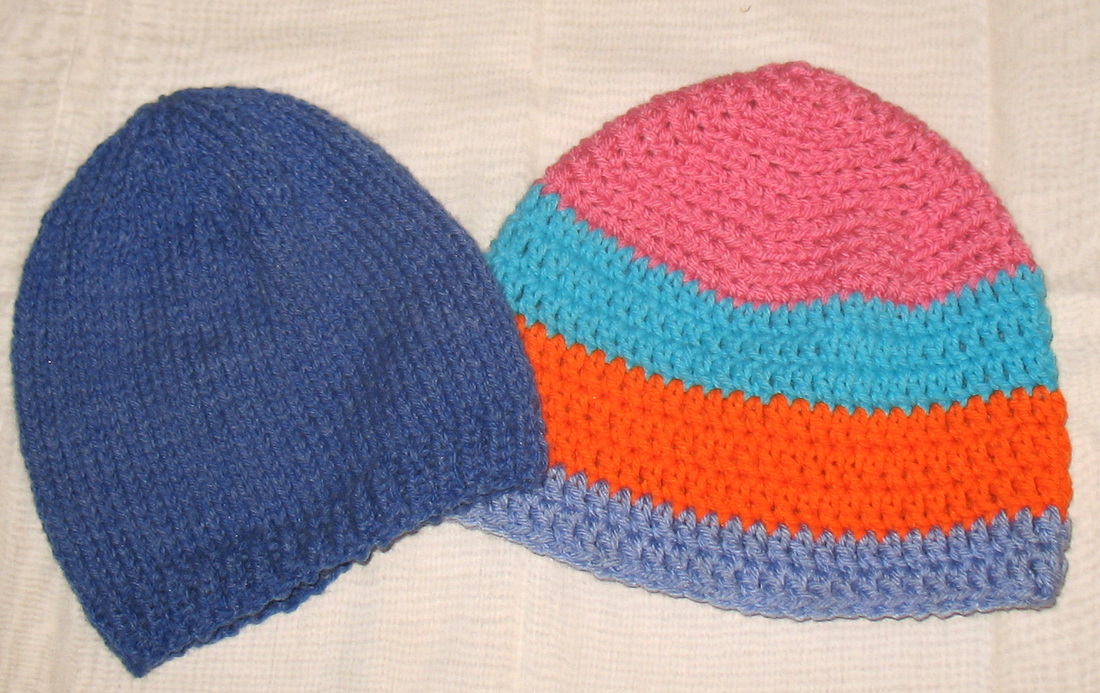
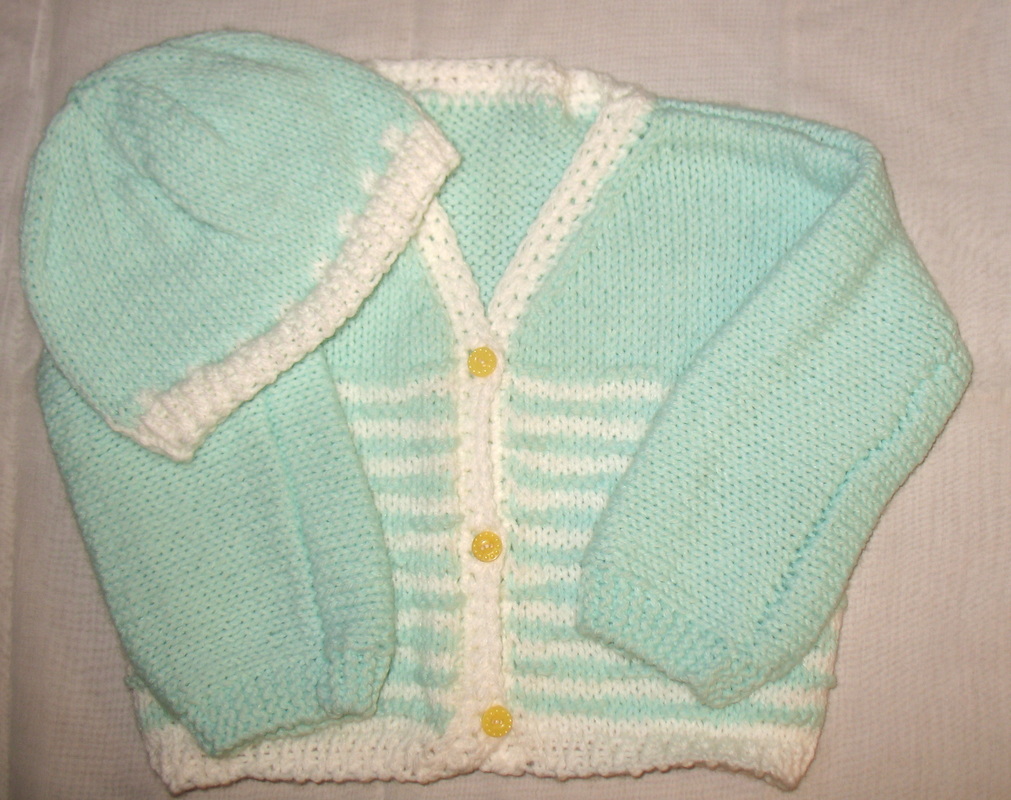
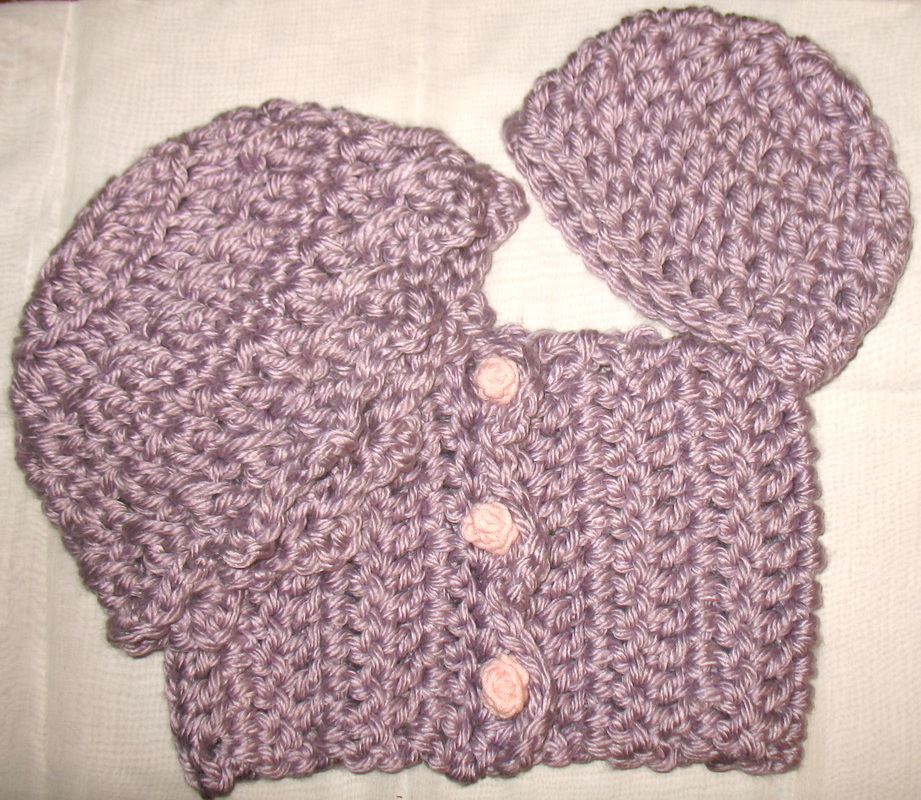
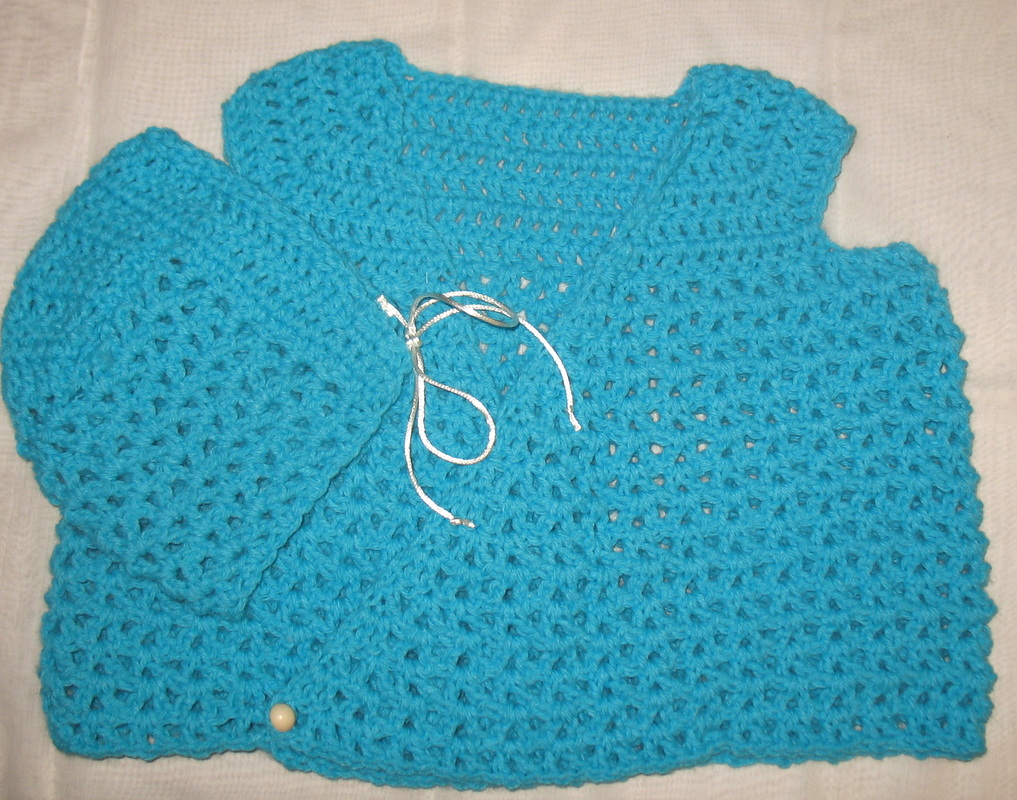
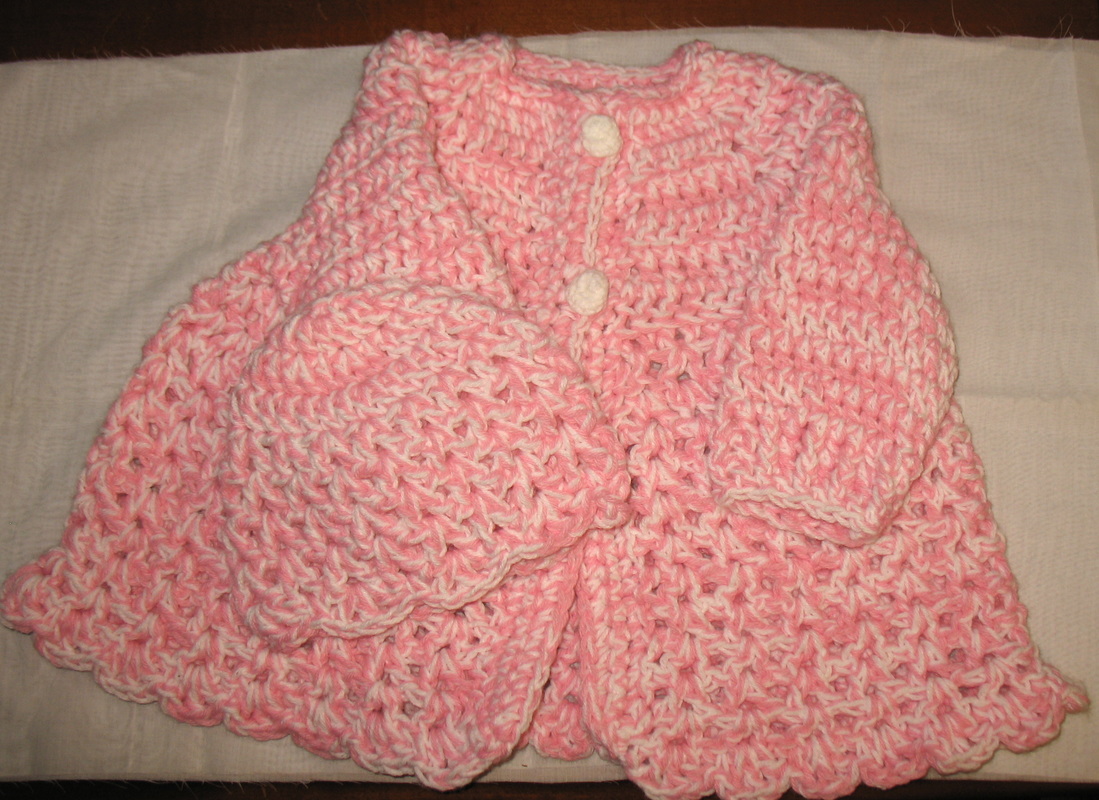
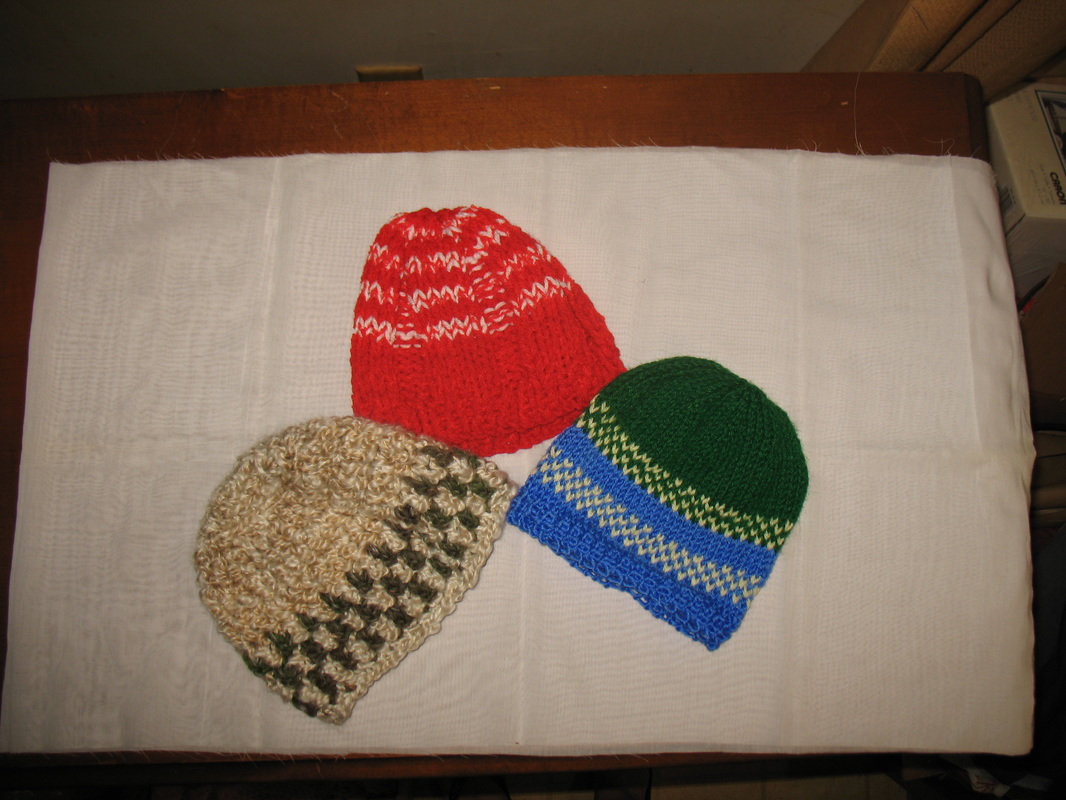
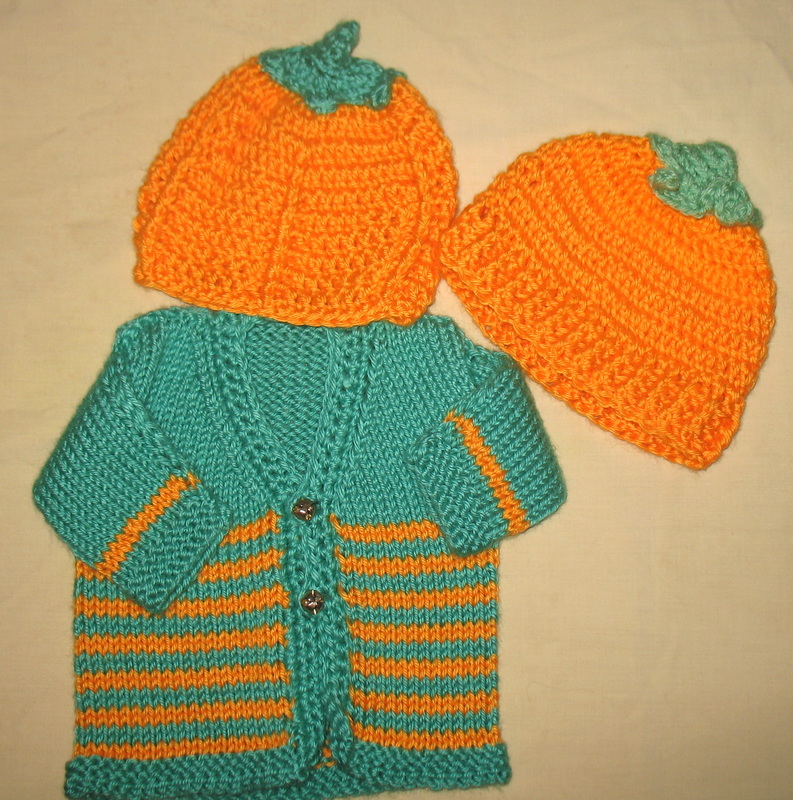
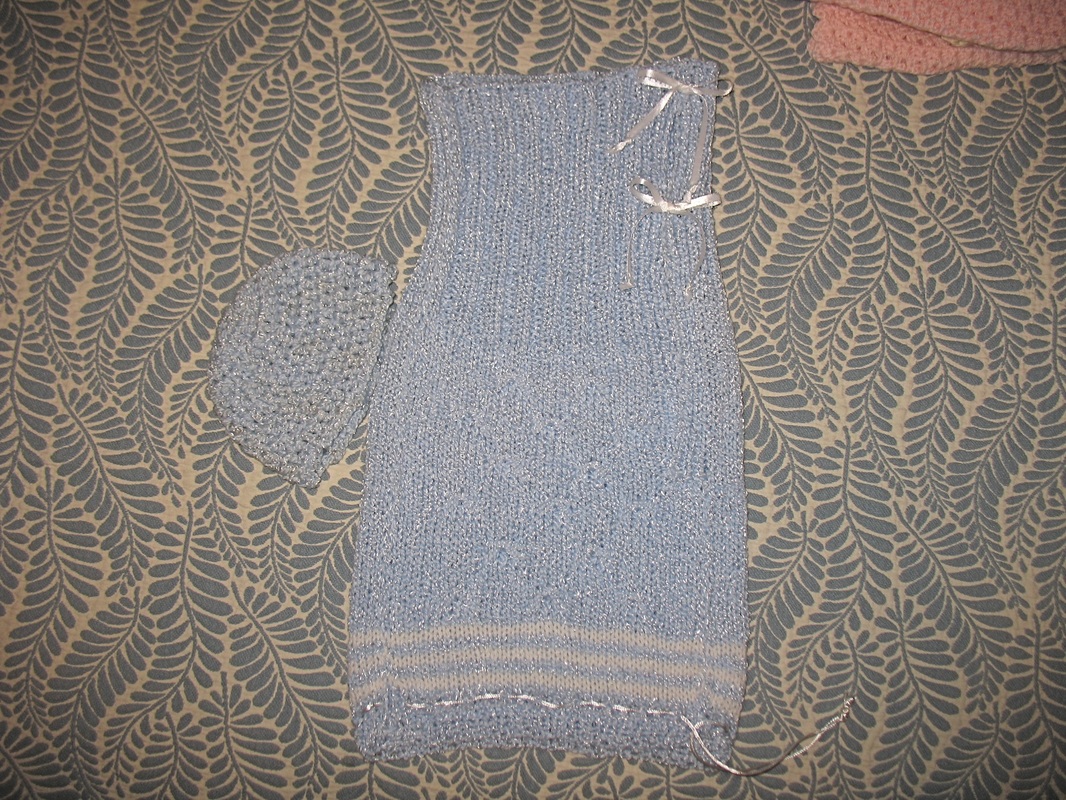
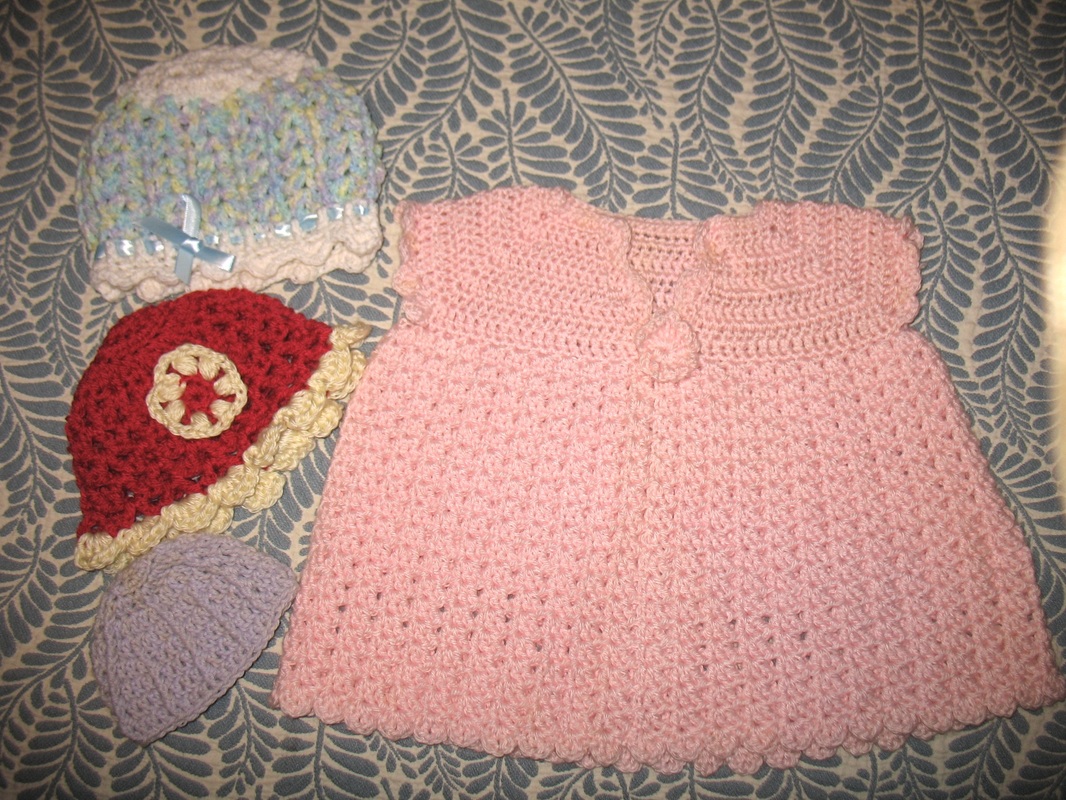
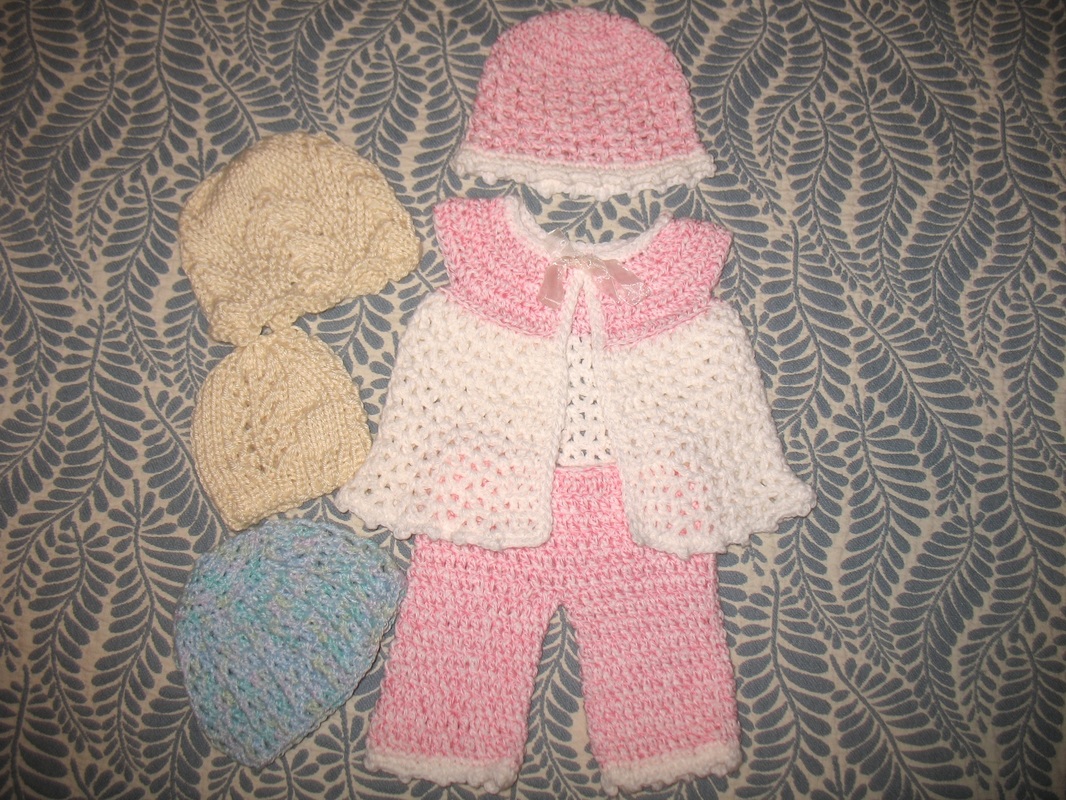
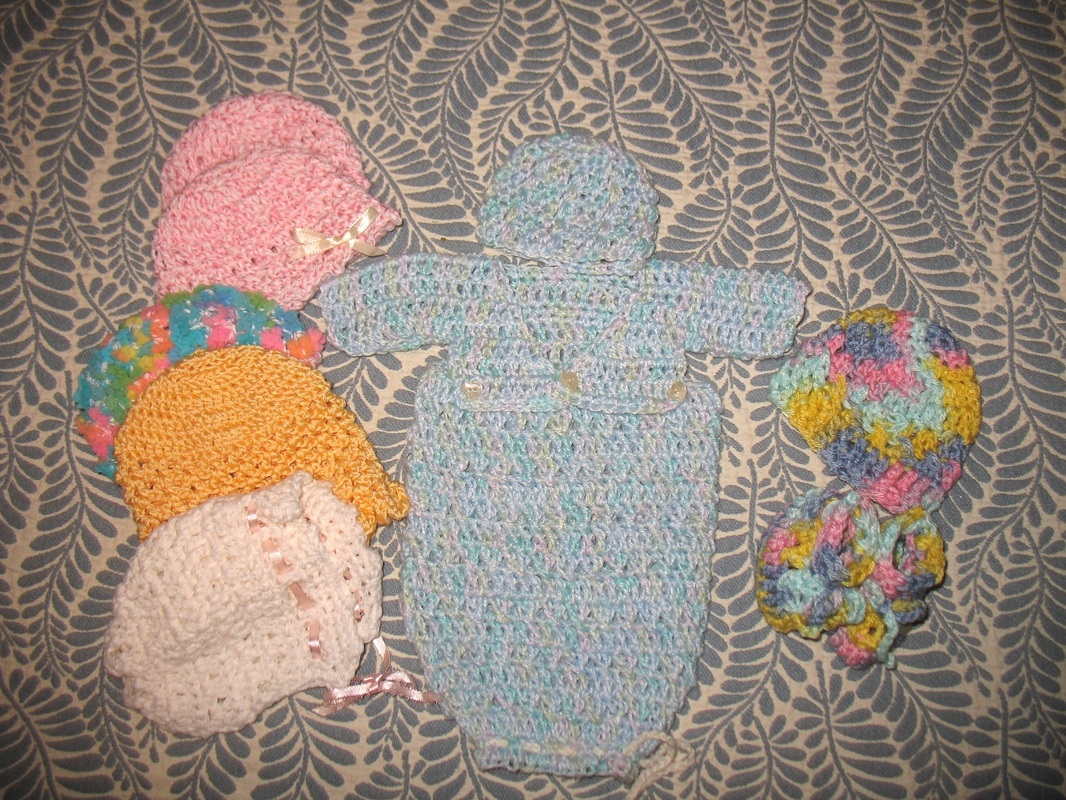
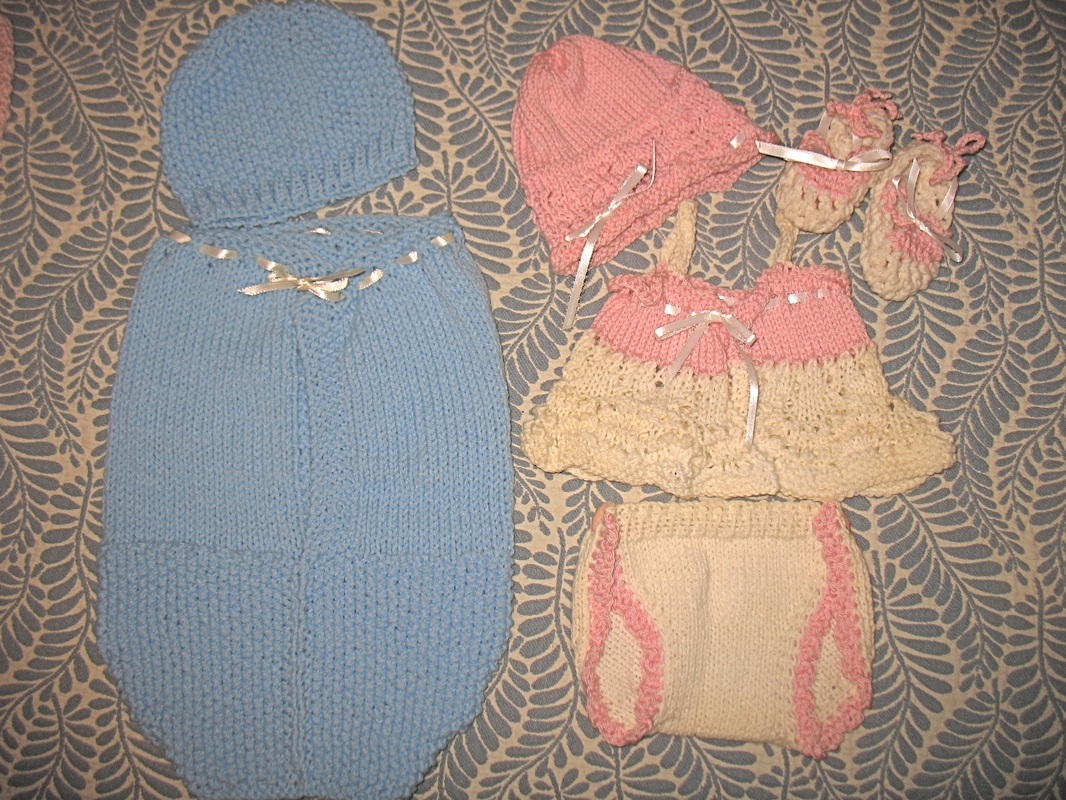
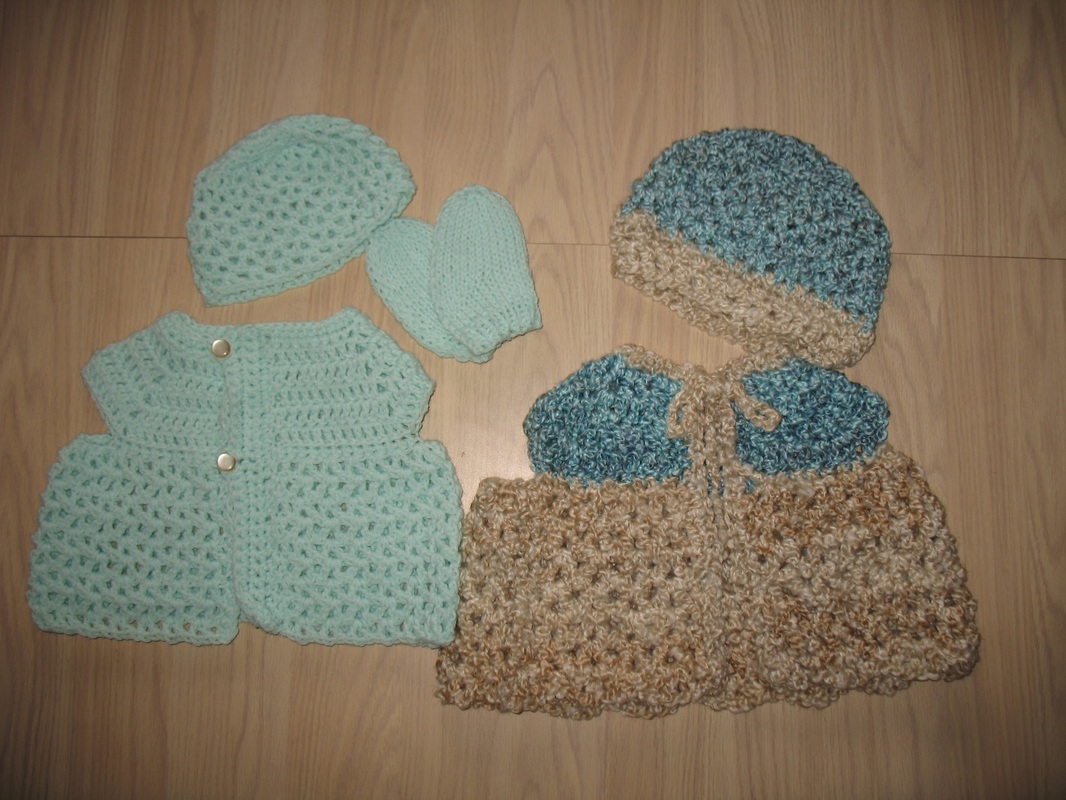
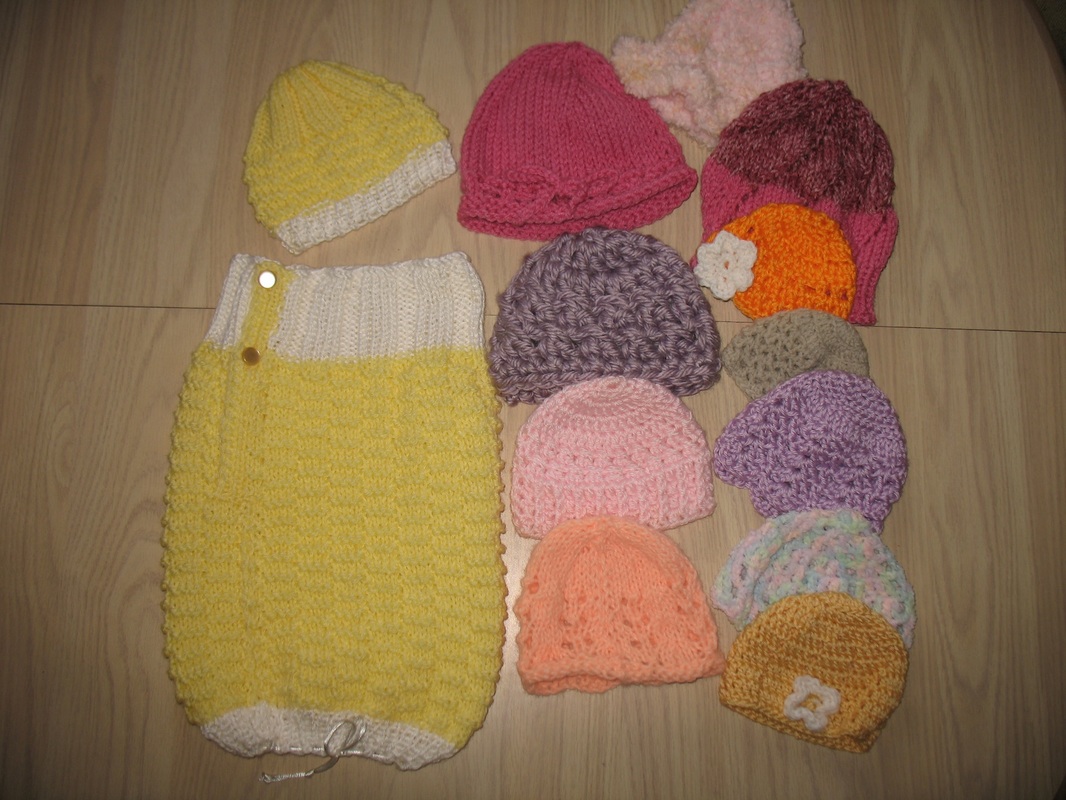
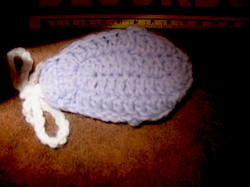
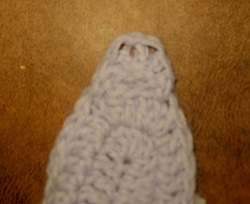
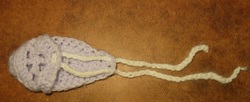
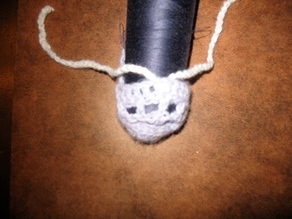
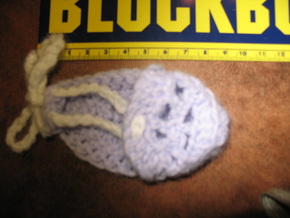
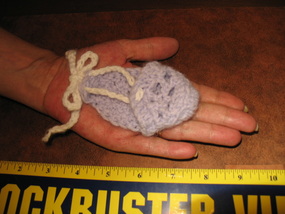
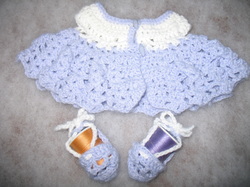
Winter is coming in the North, and all my charity crafting friends are preparing lots of warm blankets, hats, and outfits to help out.  Here are some of the things I've made.

Click on a photo to see it larger.
​
2 Comments

Heavenly Angels

9/15/2015

0 Comments

 
Don't you just love the name of this group? They cater to newborns and preemies. Since I had stockpiled some preemies items, I was glad to find this worthwhile group. Here are some the tiny outfits:


0 Comments

Super easy baby blanket

6/18/2015

0 Comments

 
This is absolutely the easiest blanket I have ever made!  I think it took me longer to get all the fabrics nice and flat than to sew them together.

I used 1 yard of each fabric.

The top layer is a cute cotton print with teddy bears.  The lining is a plain broadcloth, and you could use any cotton fabric such as quilt backing.  The interlining is sandwiched between the two fabrics. I used a piece of flannel to give baby a little warmth.

Before starting, make sure you have washed all the fabrics so they are already preshrunk when you lay them out.

Put your three fabrics flat on a table or, if you're limber enough, on a clean floor.  Pin all around, leaving a space of about 5" for turning.  Stitch, clip the corners at a 45 degree angle. Turn over and stitch the opening closed.

Done!
Picture
0 Comments

Cooper Hospital

6/9/2015

0 Comments

 
The knitting season is about over down in the hot sub-tropics.  I can only knit at night and even then, it depends on the temperature.  I wanted to share what I have so far to send to Cooper Hospital in New Jersey.


Picture
Picture
I love the little diaper cover. I put a ruffle on the back, and the front has two buttons for easy opening and changing of baby.
Picture
0 Comments

Busy bee

3/14/2012

0 Comments

 
Several readers and friends have asked me why I didn't write any more. I have been really busy with work, family, house... the usual stuff. However, I have ensured that my charity work continued to provide, in a small way, to disadvantaged babies and adults. I've also gotten into more knitting this past few months. Photos can be seen on the Charity pages links, the latest being here:  /charity-crafts-gallery---page-4.html
0 Comments

Crochet sandals

3/27/2011

3 Comments

 
I was not able to find any good crochet patterns for the kind of sandals I wanted to make.  After lots of research on the net, I decided to make my own. I even remembered to write down what I did (for once). This is my first time attempting to write a pattern for others to use, and it is untested. Please let me know if you have questions. This pattern has very few ends to finish, and works up in a jiffy.

These will fit a newborn. They worked up to a length of 3.25" or 8 cm.  I've always found that the standard 3.5" or 9 cm are really too big for newborns, so I made those a touch smaller. You can use a larger hook and thicker yarn for larger feet.
This is written in American crochet.
Hook: Size G - 4.0mm
Yarn: Small amount of lavender and small amount of white, rated for hook size G.
Gauge: Not critical as the ties allow for some adjustments.


Stitches used:
Chain stitch.
Slip stich.
Single crochet (sc).
Double crochet (dc).
Shell stitch (2 double crochets, 1 chain, 2 double crochets in same stitch)
Picture


Sorry about the bad picture.


Sole:

Chain 12.
Row 1 -
Double crochet in 3rd stitch and in next 7 stitches, for a total of 8 dcs.
6 dcs in last stitch.
7 dcs on other side of the chain.
3 dcs in last stitch.
Join with a slip stitch.

Row 2 -
Chain 2. Do not turn.
2 dcs in next stitch.
1 dc in next 9 stitches.
*2 dcs in next stitch*  Repeat from * three times..
1 dc in next 9 stitches.
3 dcs in next stitch.
2 dcs in next stitch.
Join with a slip stitch.
Sole is about 3.25" or 8cm long.

Do not fasten off.

Picture
Heel detail.


Back heel:

Chain 5.

Join in 4th stitch across the width of the sole with a slip stitch.
Chain 1.
Make one shell stitch in the center of chain 5.
sc in last stitch of chain 5.
Heel completed.

Do not fasten off.

Slip stitch in next 6 stitches along the edge of the sole.

Picture
Front top (toes part):


Chain 12.

Row 1 -
Anchor across sole with slip stitch. You should anchor 6 stitches from the heel.
Chain 2.
1 dc in each chain 12 stitches.
Anchor to sole with a slip stitch.
Chain 2. 
Turn.

Row 2 -
*dc in next stitch, chain 1, dc in next stitch* three times.
Chain 2.
dc in last stitch.
Chain 3, turn.
dc in center.
Chain 3.
sc in last stitch.
Finish, leaving a tail for sewing.
Sew toe part to sole.

Picture
Either thread a ribbon or make a chain for laces.

Finish ends.

Make a second sandal.

You can embellish or leave as is.

Additional photos below.
Picture
Picture
Picture
Pair it with a little matching dress.
Picture
3 Comments

    Agnes teaches

    A blog to teach, learn, and share. Brought to from South Florida.

    Categories

    All
    Baby
    Bebe
    Charity
    Children
    Comment Faire
    Contest
    Cooper Hospital
    Couture
    Crochet
    Drafting
    Easter
    Ecards
    Francais
    Free
    Fun Stuff
    Giveaway
    Haiti
    How To
    How-to
    Inspiration
    Instructions
    Knitting
    Newborn
    Nourisson
    Nouveau Ne
    Nouveau-ne
    Patron
    Pattern
    Pine Ridge
    Printemps
    Sandal
    Sandale
    Scrunchies
    Sewing
    Shoe
    Spring
    Summer
    Techniques
    Tracer
    Tutorial
    Tutoriel

    RSS Feed

    Blogs I like

    Click to see a list.
    Crochet Blogs
    Powered By Ringsurf
Powered by Create your own unique website with customizable templates.